Step 1: Register Compact Types with NCache
Configure the Cache
Create a Local Cache named "myCache" as follows:
-
Run NCache Manager.
-
Create a new project.
-
-
Cache Node: It may be the current computer and may be some other if you want.
-
Cache name: myCache
-
Operation Timeout: 60 sec's (default)
-
Statistics Replication Interval: 600 sec (default)
-
Cluster Port: 8714
-
Maximum Size: 250 MB (default)
-
Eviction Policy: Priority based
-
Default Priority: Normal
-
Eviction Percentage: 5 (default) (In case of session it is recommended that turn off eviction)
-
Clean interval (sec.): 15
-
-
Verify that cache is running. For this, determine cache behavior by adding and removing objects from Statistics Window.
-
Registering the Compact Serializable Types
Perform the following steps to register your types with the configured cache:
-
Stop the Cache if it is running.
-
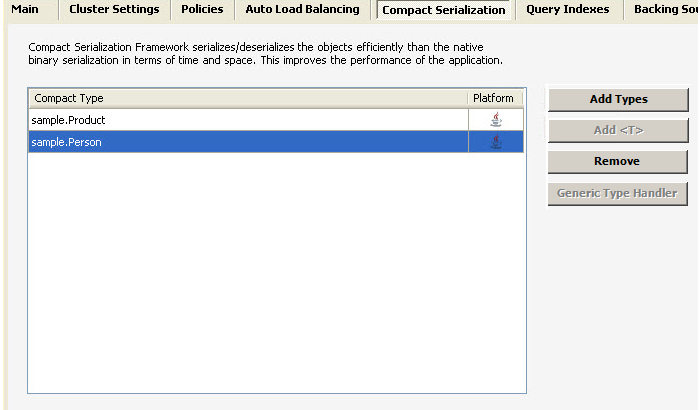
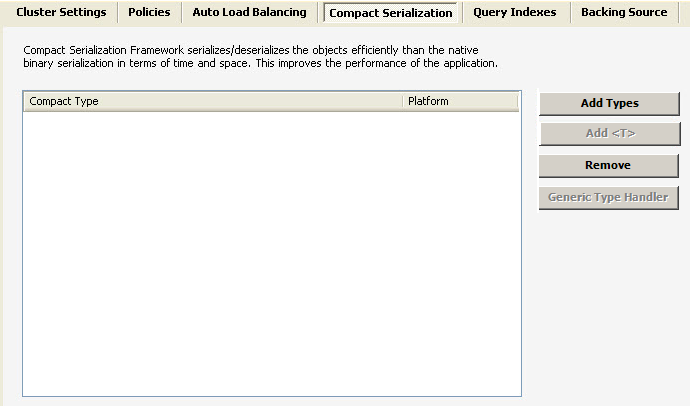
Click on the 'Compact Serialization' tab which will open up the following screen.
-
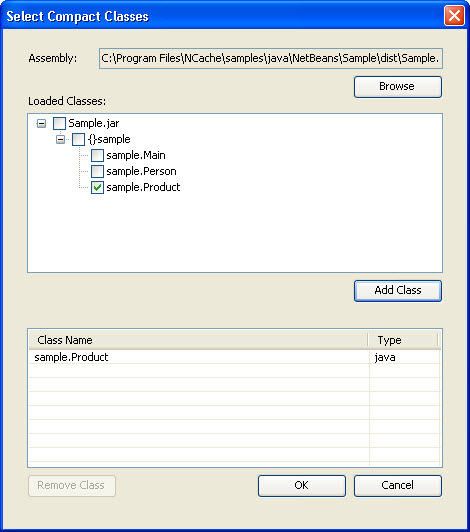
Click 'Add Types' button. A 'Select Compact Classes' dialog will appear.
-
Browse for the assembly file that contains the compact types by clicking 'Browse' button as shown in the figure.
-
Select the classes you want to register with the cache from the loaded classes list.
-
Press 'Add Class' button to add the classes in selected classes list.
-
Click 'Ok'.
-
Newly added types will start appearing in the list box under the 'Compact Serialization' tab having Compact Type and Platform information.
-
'Remove' will delete the selected type from the registered types list.
See Also