|
|
Interactive Windows Installer
Another way you can install NCache is to double click on "NCache.clr20.msi" from the Windows Explorer. This launches the interactive Windows Installer. Below are the screen snapshots of the installation process.
-
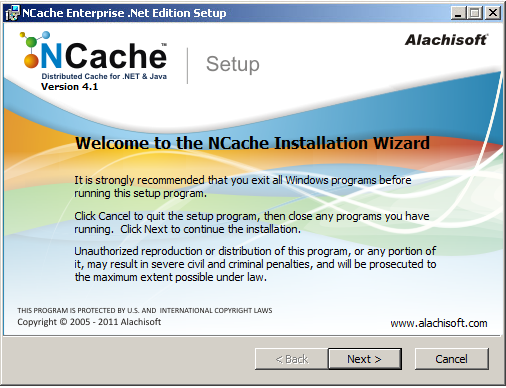
After you click on NCache.clr20.msi, you will see the following as your first screen.
-
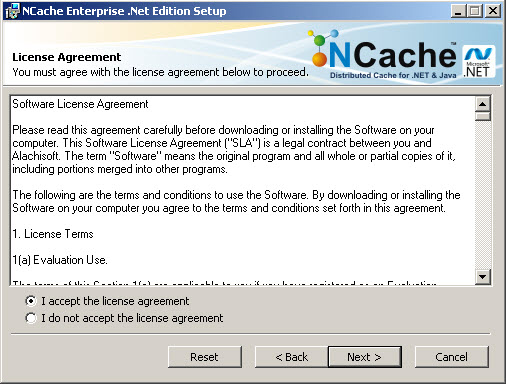
The next screen you will see, asks you to accept the license agreement. Click and check "I accept the license agreement", by this you are making a legal commitment to abide by the Alachisoft Software License Agreement for NCache. You cannot proceed if you don't accept this agreement.
-
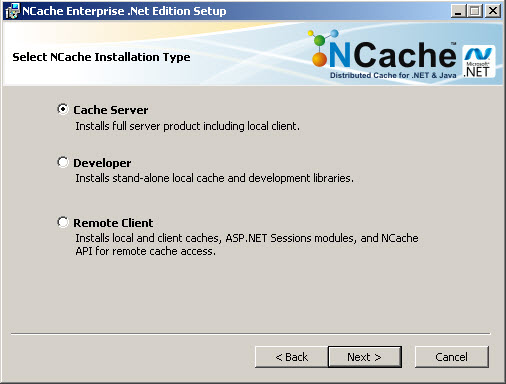
The next screen is quite important. It asks you to choose which edition of NCache you want to install. While installing NCache Enterprise edition you do not necessarily need to have visual studio, whereas, if you are installing NCache developer edition then visual studio (2003/ 2005/ 2008) should also be installed.
-
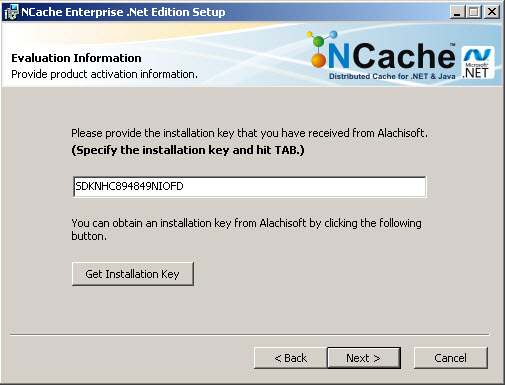
The next thing to do is to provide the Installation Key. This is the key which you have received from Alachisoft. If you do not have an INSTALL KEY, please click on "Get Installation Key" button which takes you to Alachisoft web site to register and obtain an INSTALL KEY.
NOTE: Please note that even when you have purchased NCache and have a license key, you must provide the INSTALL KEY here (and not the purchased license key). You'll get an opportunity later to specify your purchased license key when you activate your licenses.
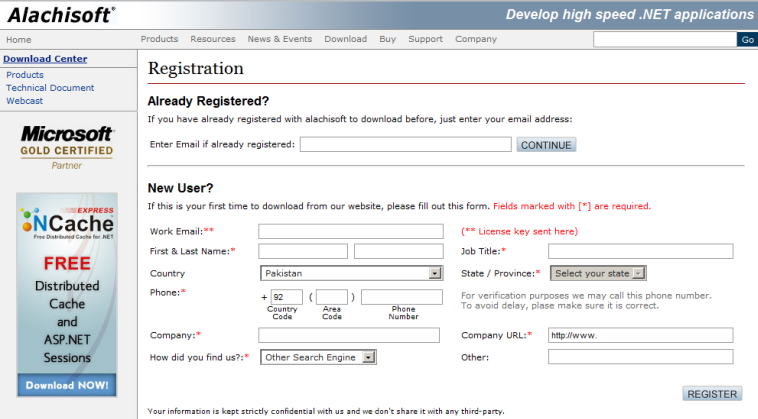
Below is the screen showing page of Alachisoft web site where you can register and obtain an INSTALL KEY. You have two options here. If you're already registered, just enter your email address and an INSTALL KEY will be emailed to you. Else, register by specifying information and an INSTALL KEY will be emailed to you.
-
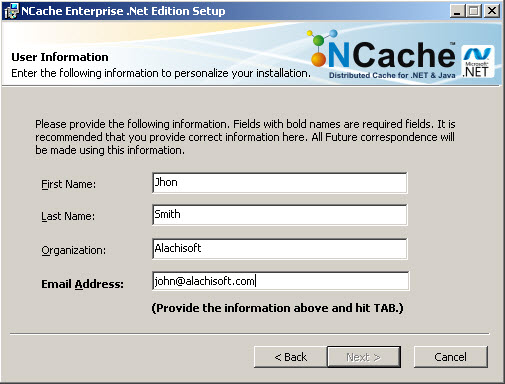
Below is a page where you need to enter your name, company name, and email address. This information will be displayed as part of NCache to indicate your identity.
-
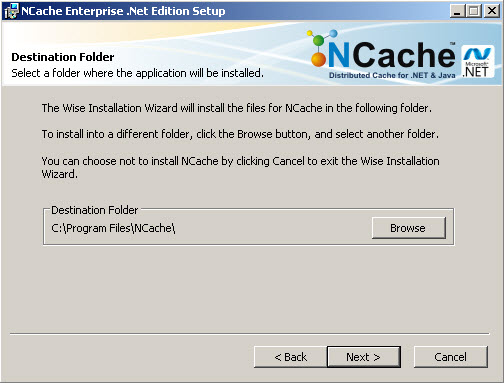
By default, NCache is installed in "C:\program files\NCache" folder. However, if you want to change this location, you can specify a different one below.
-
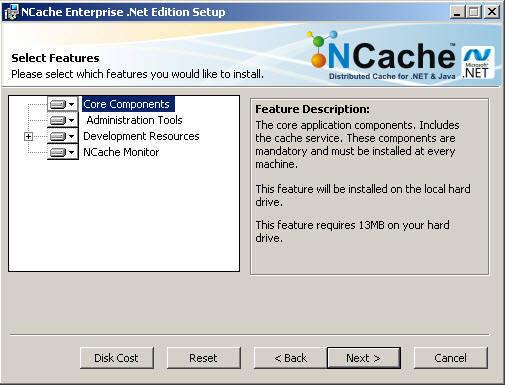
Below, you can see all the components that will be installed automatically. You can unselect some of the components if you wish. But, it is strongly recommended that you keep everything as default.
-
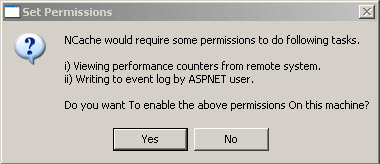
At this stage of the installation, the install program asks you whether you want it to automatically configure the permissions for NCache counters to be viewed in Perfmon remotely or you want ASPNET user-id to have the permission to write to the event log. Both of them are important unless you have a specific security reason, select YES here.
-
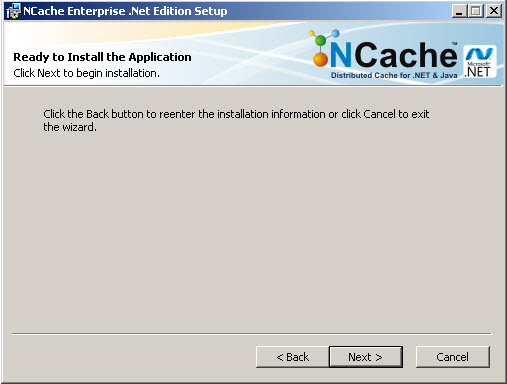
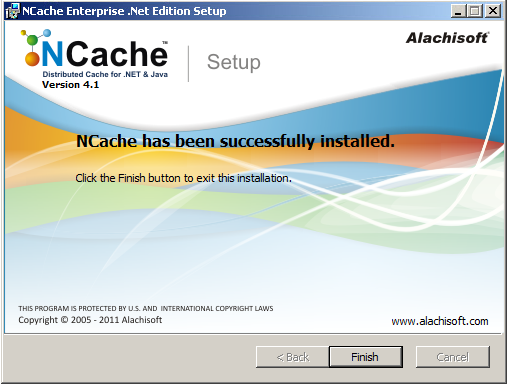
After completing step by step process, you will see a final screen indicating successful installation of NCache.
See Also
|
|