|
|
How to setup development Environment?
Here we will discuss the step by step procedure for setting development environment for Eclipse and NetBeans.
For Eclipse
-
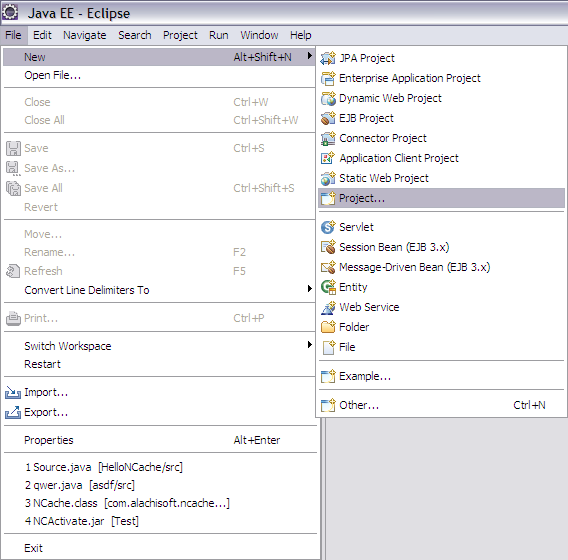
File-> New -> Project.
-
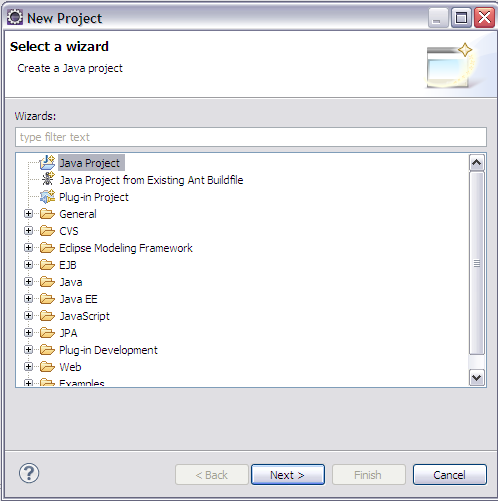
Select Java Project from range of generic projects.
-
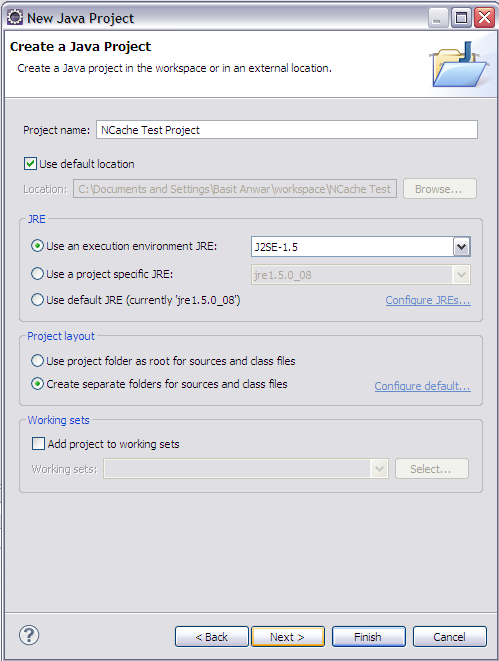
Enter the name of the project you want to create, e.g. NCache Test Project then press Next button.
-
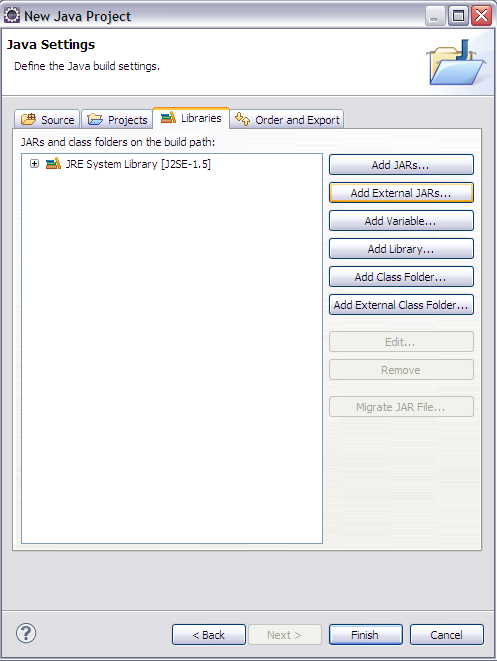
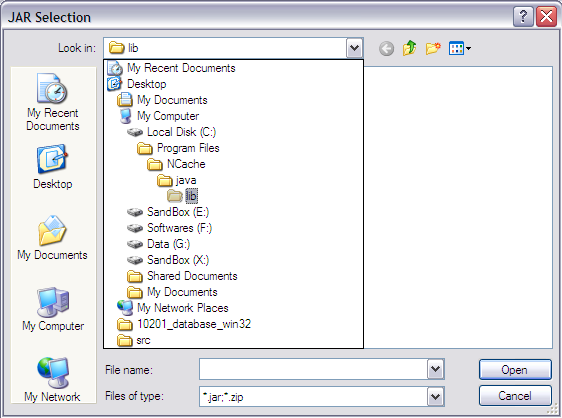
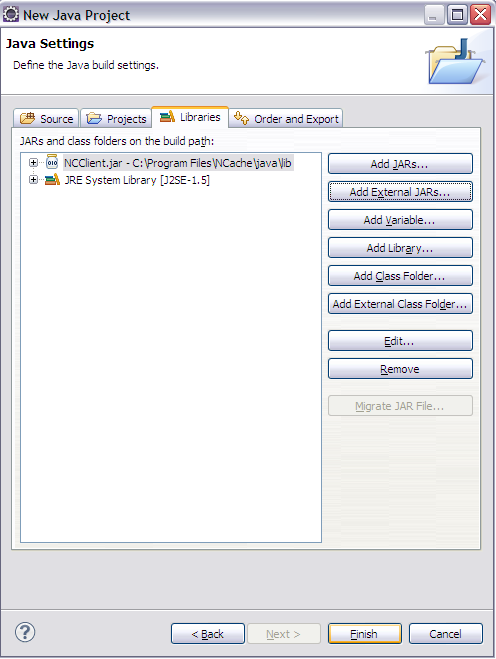
Select the Library tab, click "Add External Jars …".
-
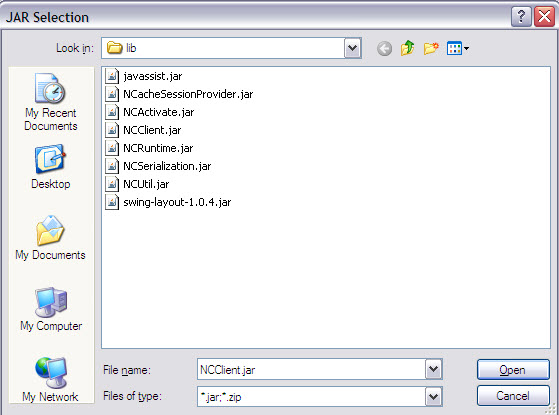
Go to path "C:\Program Files\NCache\Java\lib\" , considering the default installation location.
-
Add NCClient.jar.
-
Click Finish button.
-
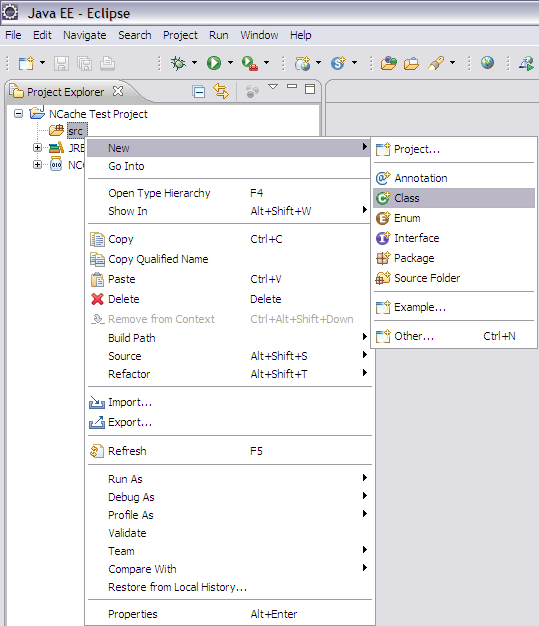
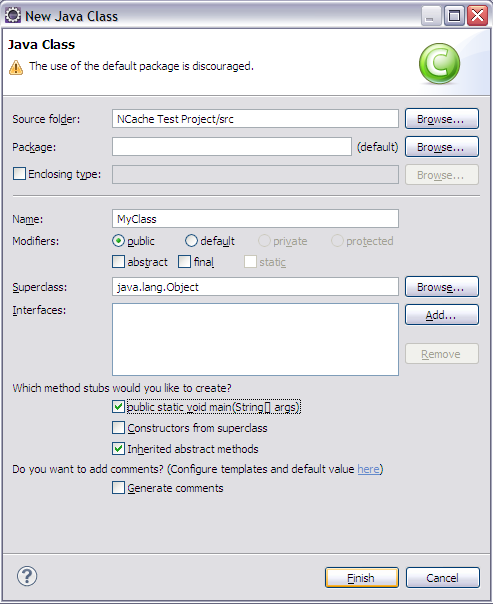
Now create a class file, by right click on src->new->Class.
-
Enter the name of the class e.g MyClass.
-
Check "public static void main(String[] args)".
-
Click Finish button.
-
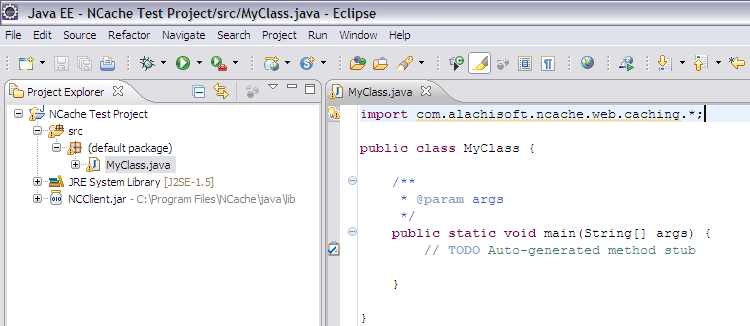
Now import com.alachisoft.ncache.web.caching.*;
-
There you go, you are all set up to begin NCache Development .
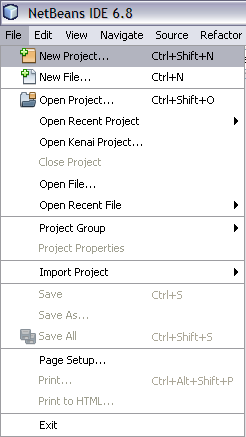
For Netbeans
-
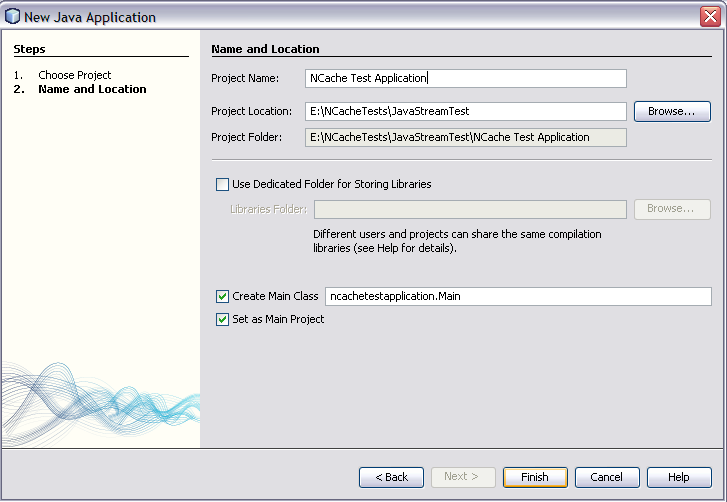
File->New Project.
-
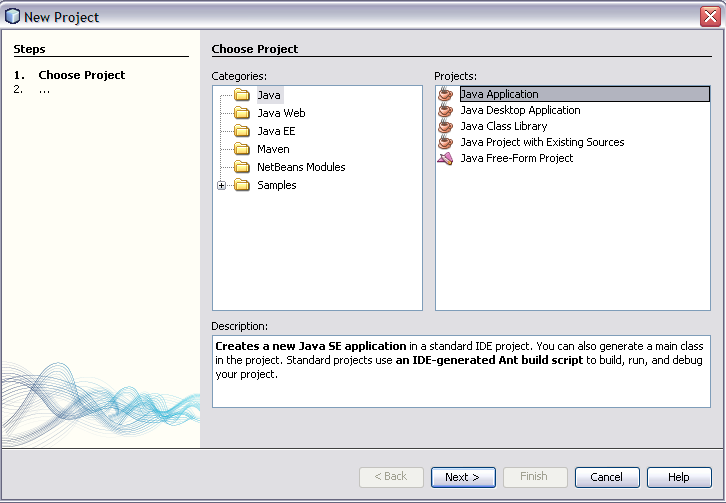
Select Java Application and click Next button.
-
Enter the project name, e.g. NCache Test Application and click Finish button.
-
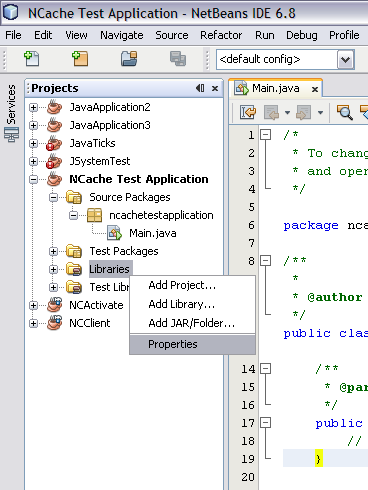
In the Project window, under your newly created project hierarchy, right click on Libraries, then Properties.
-
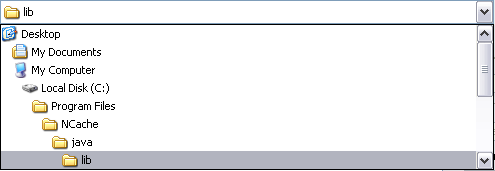
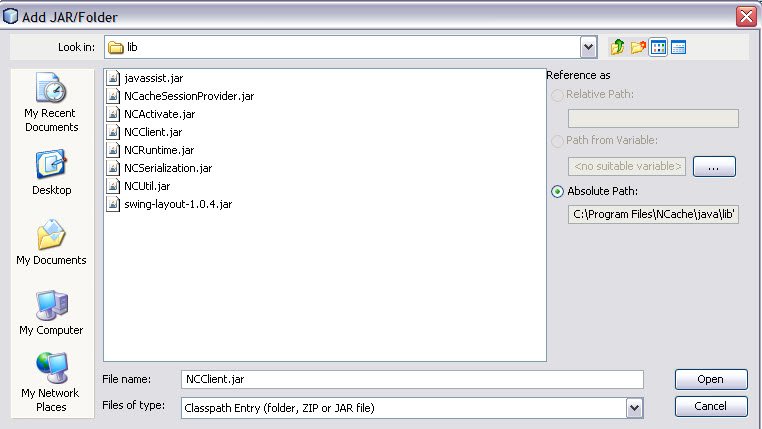
Click "Add Jar Files" then proceed to "C:\Program Files\NCache\Java\lib\" ,considering the default installation location.
-
Select NCClient.jar.
-
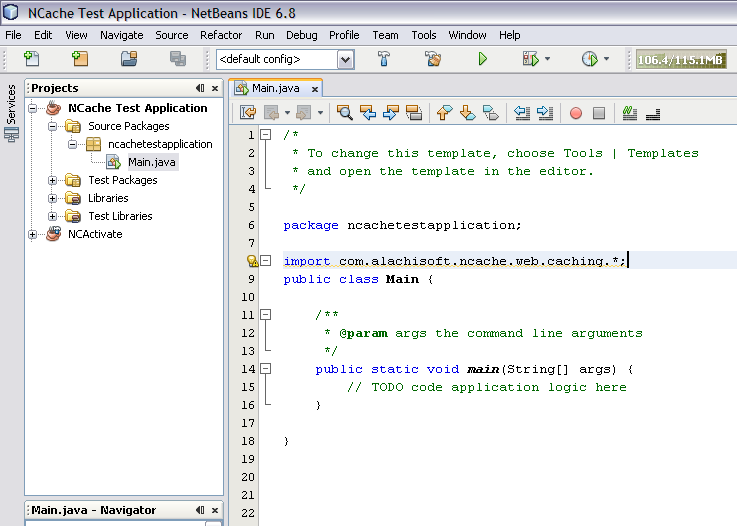
Now under your project hierarchy, under Source Packages, Find Main.java, double click it.
-
Now add the line "import com.alachisoft.ncache.web.caching.*;" after package <your Project Name> and before the Main class.
-
That's it, you're all set up and ready to go build your first NCache Java application in Netbeans environment.
See Also
|
|