| < Previous page | Next page > |
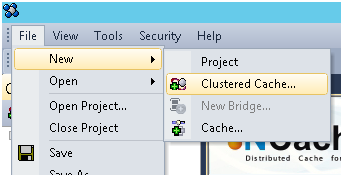
Creating a New Cache Cluster
Clustered Cache can be created in the following two ways:
Using NCache Manager
Cluster Caching Topologies: Mirrored cache is a cluster of two nodes (Active and passive), where all operations are performed on active node while the passive node is updated asynchronously. Passive node is promoted to active node as soon as the active node goes down. The Partitioned scheme partitions the data across the cluster, whereas the Replicated scheme provides data replication on all the nodes. Partitioned Replica scheme is same as a regular partitioned cache but it allows you to have replicas for each partition, replication can be done either synchronously or asynchronously.
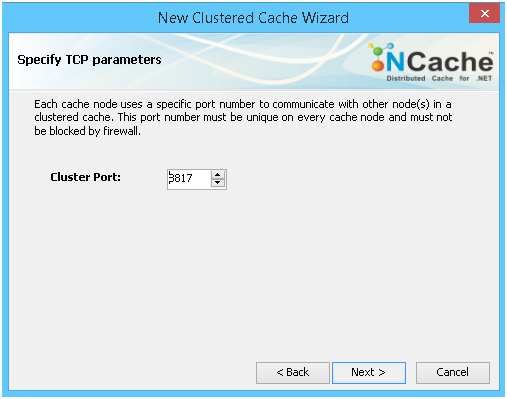
Operation timeout (sec): The maximum time in seconds during which a clustered operation must be completed, otherwise the operation will fail.
Statistics replication interval (sec.): The time interval in seconds after which a node sends its statistics to all the other nodes in the cluster.

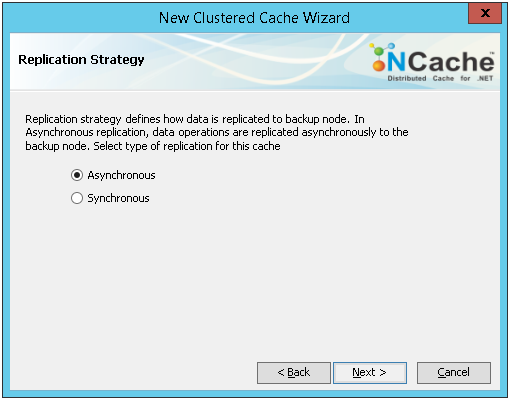
Replication Strategy: Replication Strategy is defines as how the data is replicated to the backup node. It can be Synchronous or Asynchronous.
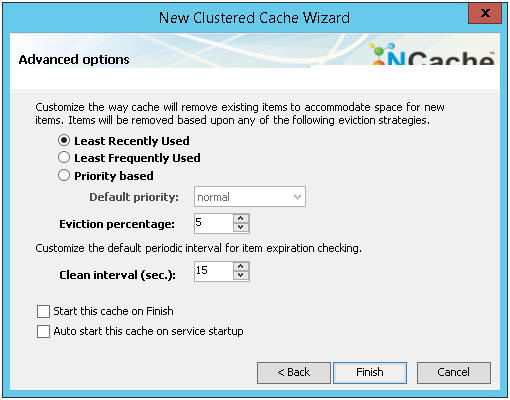
Eviction Policy: Specifies the eviction policy to determine which items are to be removed from cache, if it is full, to accommodate new items. You can change the eviction policy. Eviction policy will be configured but if you want this feature, then you have to turn it on after cache creation.
Eviction percentage: Specifies the percentage of items to be removed on each eviction. It can also be changed. Items will be evicted from cache using this percentage value if eviction is enabled.
Clean Interval: The periodic interval after which the expired items are removed from the cache. Its default value is 15 sec.
Start this cache on finish: If this check box is checked then this new cache will start automatically as you click the finish. Using “Auto start this cache on service startup” option, user will be able to mark the cache as a startup cache which will be started on cache service startup.
Using Command Line Tool
createcache.exe ClusteredCache /s test3 /S 250 /t replicated /C 7818
See Also
Creating Local Cache | Adding an Existing Cache Cluster | Configuring Basic Cache Settings | Cache Management operations | Monitoring Cache Operations
|