Connect and Manage Deployment
After creating your cloud-based NCache instance, you can establish a Remote Desktop Connection (RDC) using its Public IP address, an internal Private IP address (from a management VM), or securely via Azure Bastion. Follow the steps mentioned below to access your NCache instance:
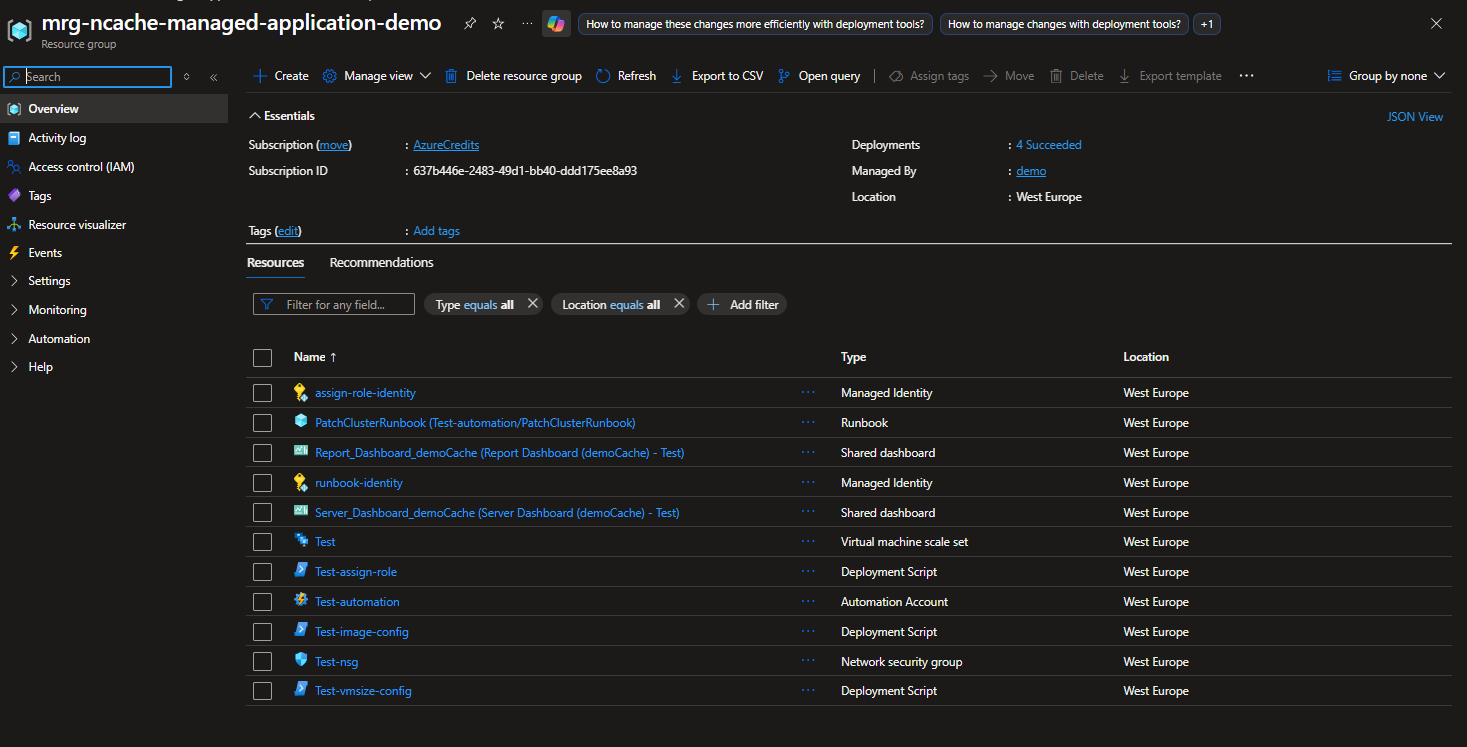
Navigate to Resource Group: In the Azure portal, navigate to the Resource Group used for deployment, select the NCache Managed Application, and open the Managed Resource Group to access your cluster resources.
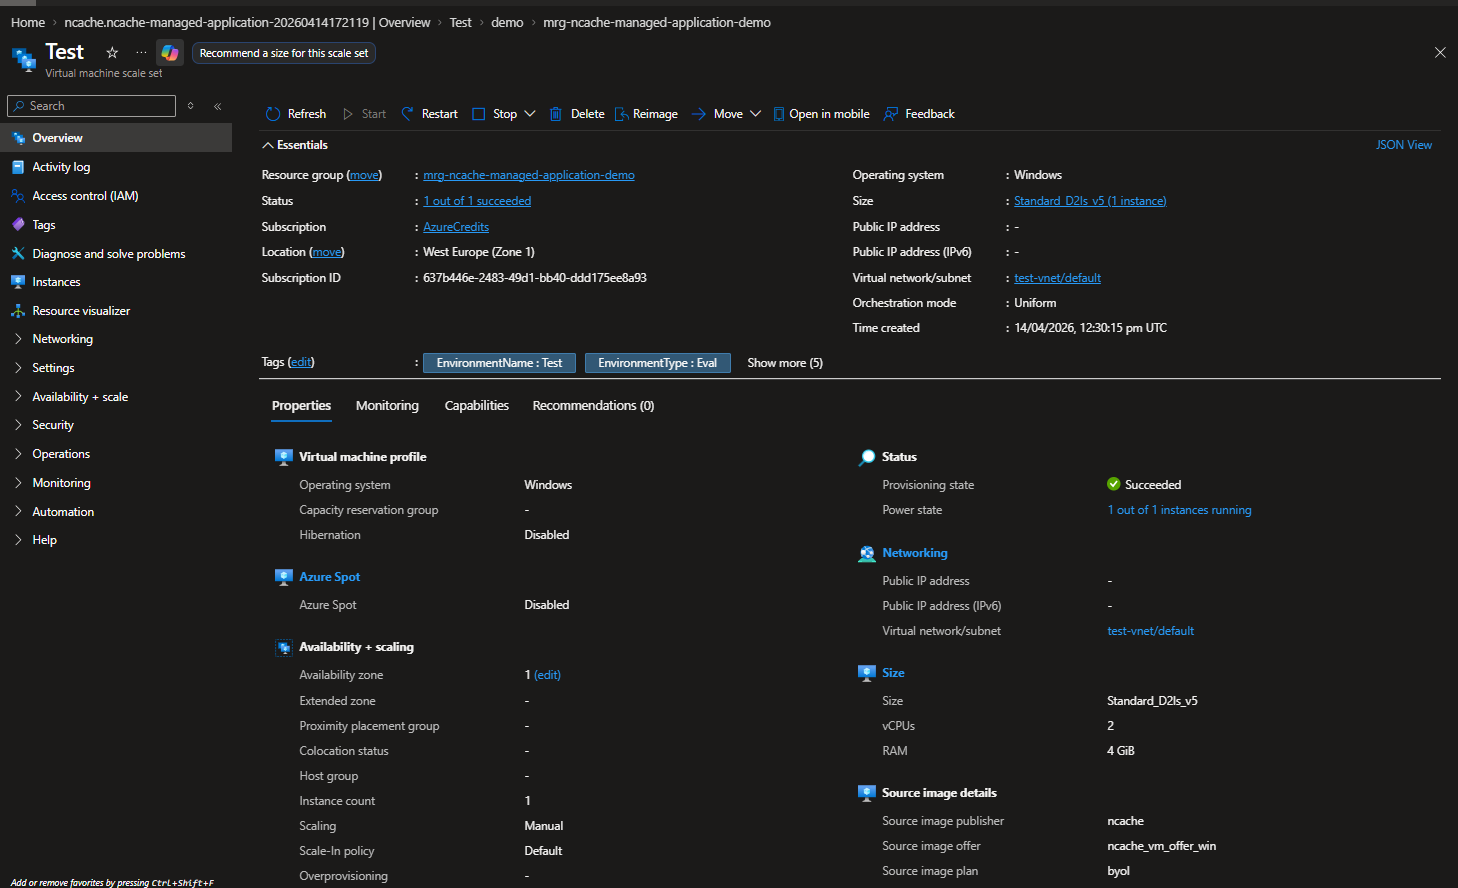
Select your VMSS: Select your Virtual Machine Scale Set (VMSS) and click on Instances in the left-hand menu. This will display a list of your active cache instances.
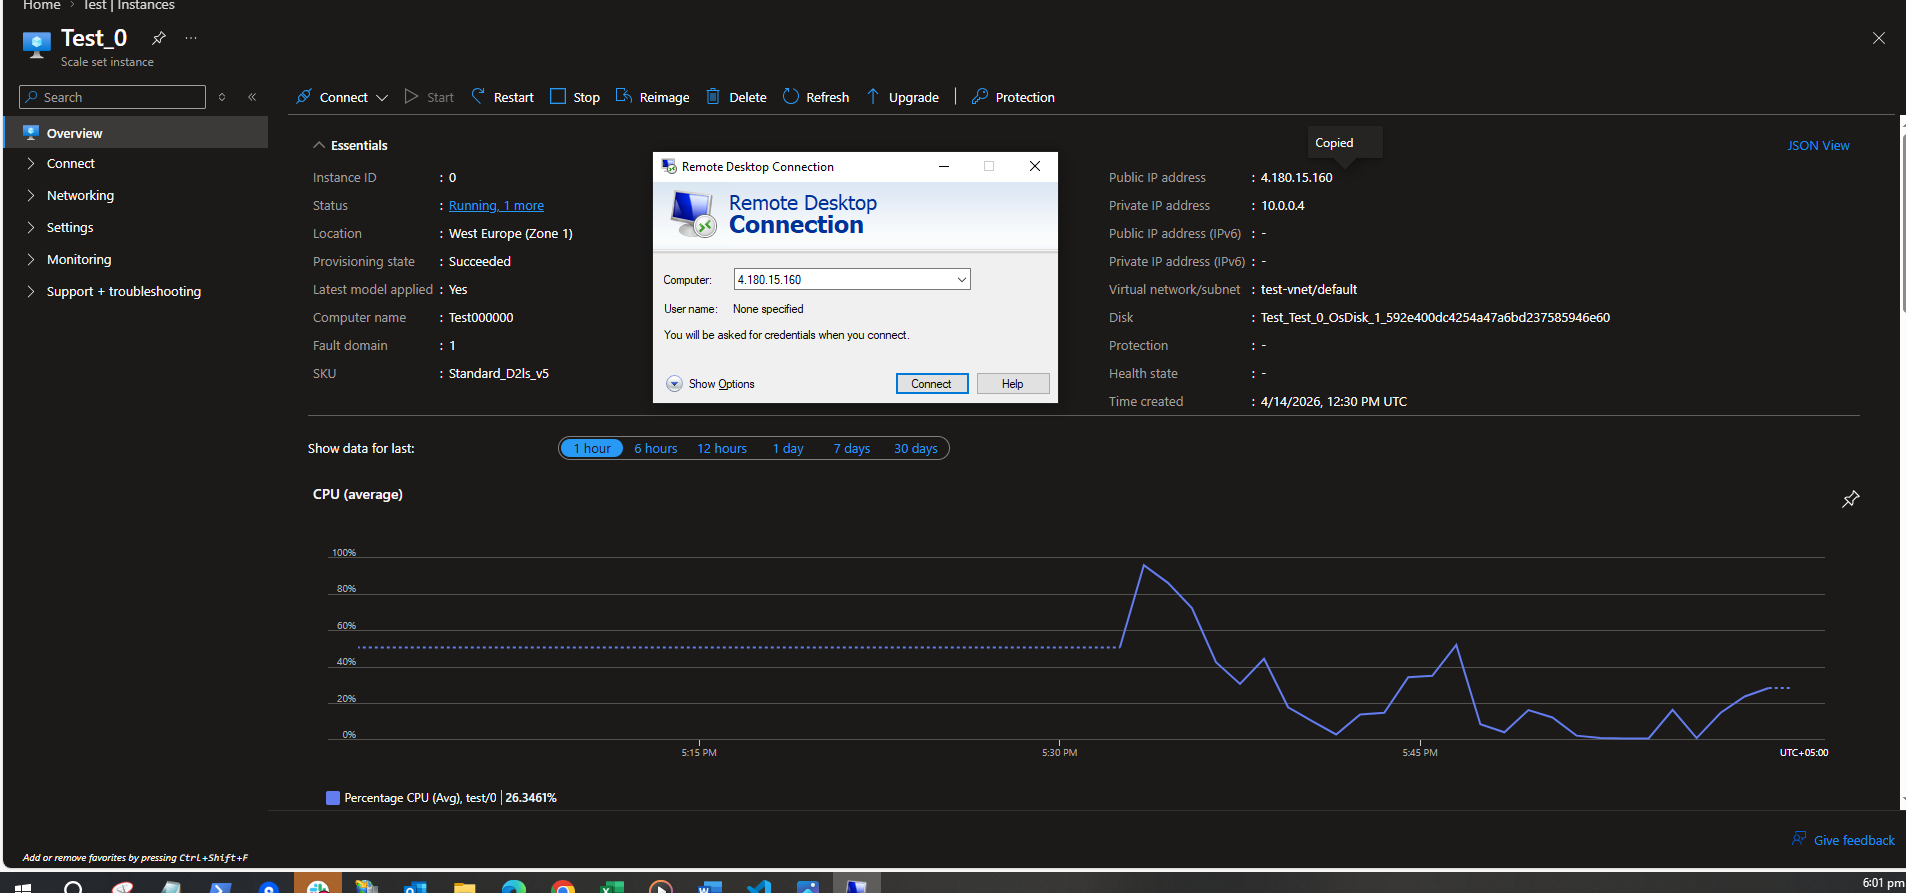
Select the Instance: Click on the specific instance you wish to access
Manage Deployment: NCache provides you with three different options to connect with instance and manage your deployment along with Azure's native Bastion to directly access your NCache virtual machine instances as follows:
Note
Please note that enabling the Public IP only exposes administrative entry points; it does not open or grant access to the internal operational ports of NCache.
Management using Public IP with RDP: Establishing a Remote Desktop Connection provides deeper access to the underlying virtual machine host. You can use this managemnt option when you need full VM access for management and diagnostic. To do so follow the steps mentioned below:
Execution: Connect via standard RDP using the node's Public IP address and administrator credentials.
Capability: In addition to launching the web-based management tool internally, this pathway allows administrators to run deep system diagnostics, check event logs, and utilize NCache command-line troubleshooting tools directly on the cache server.
Management using Public IP with Management Port: You can go for this management option if you want to open NCache Management Center from your browser outside Azure. To secure and encrypt your administrative network traffic over the public internet, you can enable HTTPS by following the steps outlined in Configure HTTPS Security page.
Execution: Ensure Public IP is enabled on your deployment resources. Open a local web browser and enter the Public IP address of the instance you have selected in the above process along with port 8251 (e.g., http:<Public_IP>:8251).
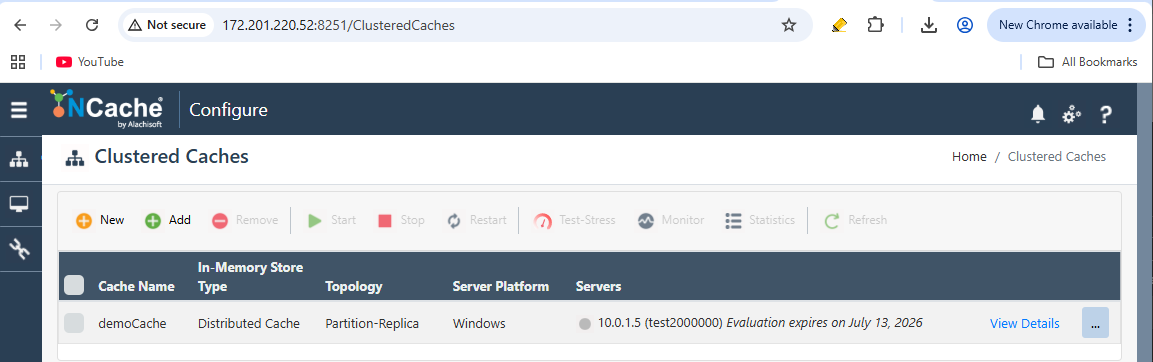
Capability: This approach allows you to seamlessly configure, monitor, and scale your cache clusters from any external browser without needing to log in to the underlying virtual machines.
Important
This internal private network access is only applicable if you have not enabled the Public IP address when initially configuring the NCache deployment settings.
Management via Private IP: For secure, zero-trust enterprise environments where Public IP access is completely restricted or disabled, you can administer the cluster exclusively from within your private network boundaries.
Execution: Log into a management machine or application server that is already deployed within the same Azure Virtual Network (VNet) where the NCache cluster is formed. Open a web browser on that internal machine and navigate to the node's internal Private IP address using port 8251 (e.g., http://<Private_IP>:8251).
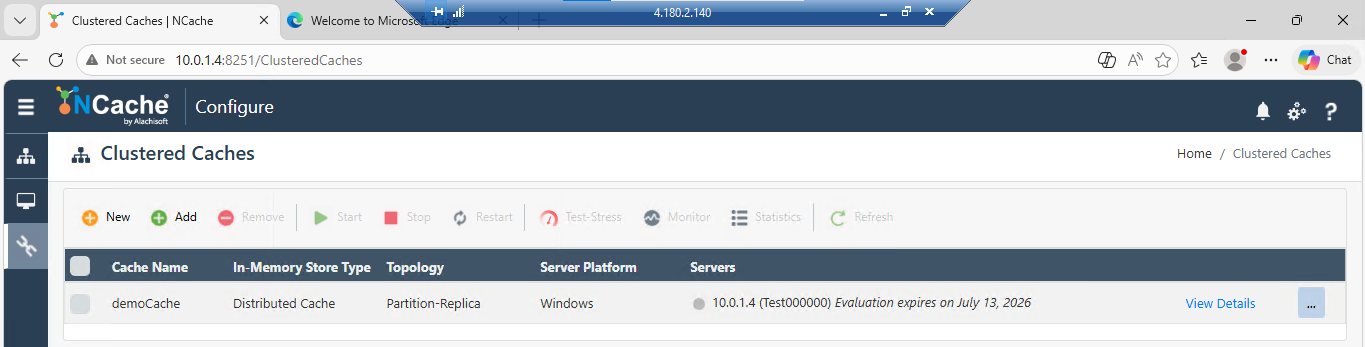
Capability: This approach enables you to securely access the NCache Management Center and perform internal operations along with client communication.
Warning
Azure Bastion charges a flat hourly fee from the moment it is created in your virtual network (VNet), whether you are actively using it or not.
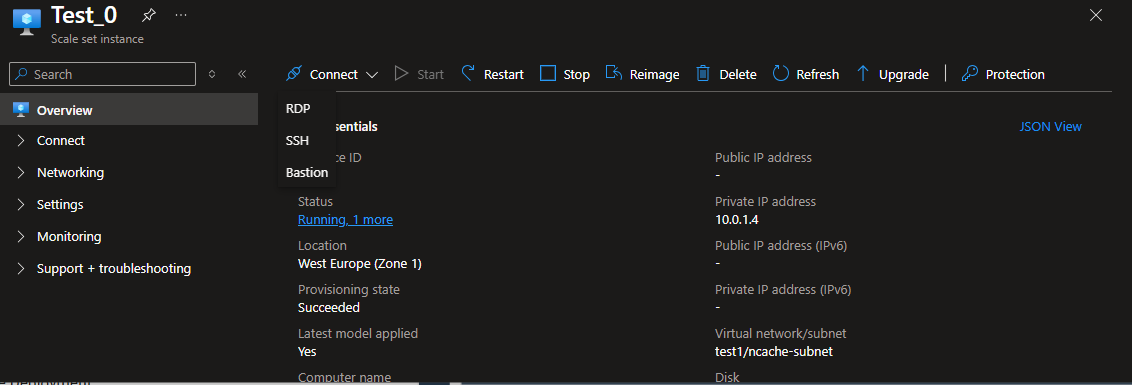
Management via Azure Bastion: Azure Bastion enables you to establish a secure, encrypted Remote Desktop Protocol (RDP) connection to your NCache virtual machine instances directly through the Azure portal over SSL, eliminating the need for a public IP address on the individual cluster nodes.
Execution:
Within your Virtual Machine Scale Set (VMSS) instance list, click on the specific active node you want to access. Click on the Connect dropdown menu from the top toolbar and select Bastion.
Provide your VM level administrator Username and Password, check Open in new browser tab, and click Connect.
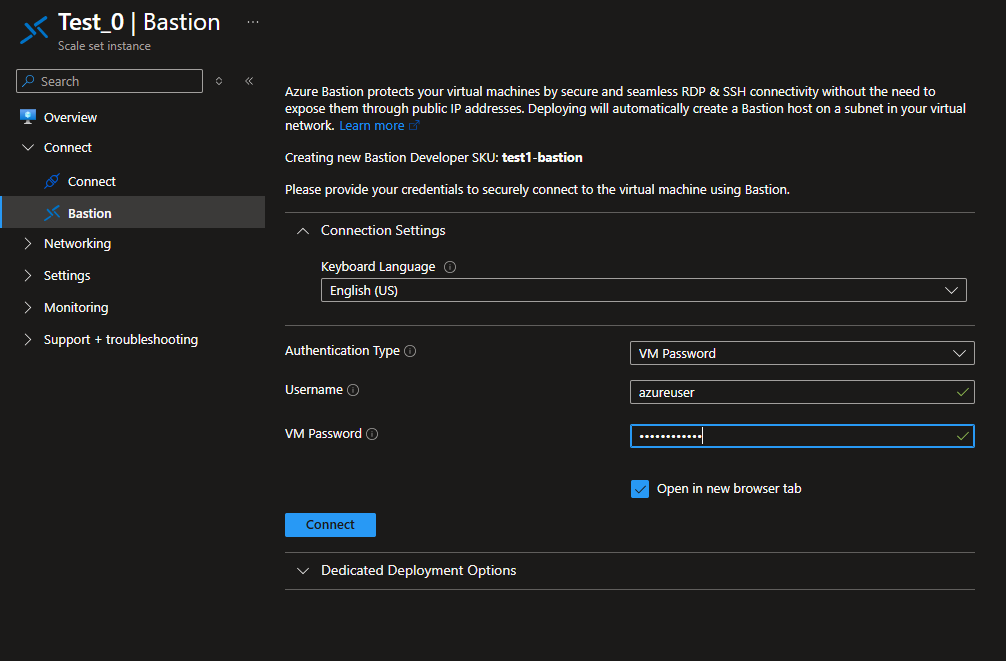 .
.Once the secure desktop session launches in your browser, open an internal browser window and navigate to http://localhost:8251.
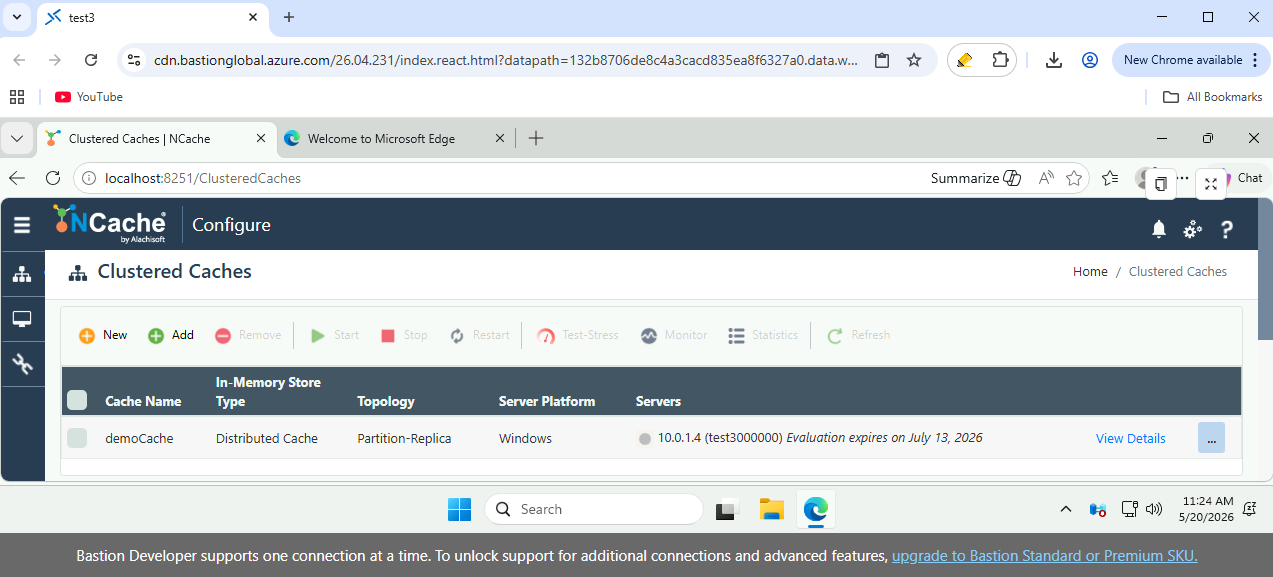
Capability: This allows you to securely configure and monitor your cache clusters locally without exposing individual cluster nodes or requiring a Public IP address.
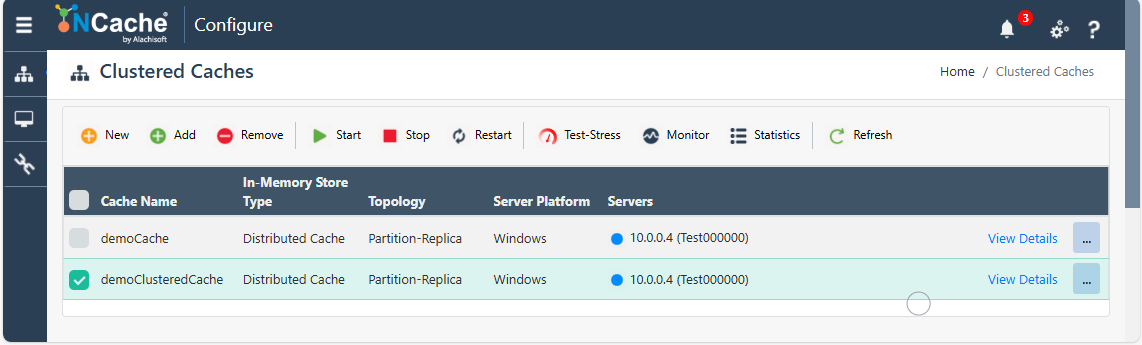
Perform Cache Operations: Once the connection is established, you can perform cache operations as demonstrated in the NCache Administrator’s Guide.
After accessing the NCache Management Center, you can proceed with cache configuration and management operations. For detailed instructions on performing these operations, refer to the Administrator's Guide.
Special Considerations for Azure VMSS
Understand the following operational boundaries and architectural requirements to ensure the security and predictability of your NCache deployment in Azure:
Client Communication Restriction: Public IP addresses are strictly reserved for cache management operations (Options 1 and 2). Public IPs are not available for client application communication. All application clients must reside within the same Azure private virtual network (or a peered VNet) to establish connections and interact with the NCache cluster.
VMSS Runtime Scalability: In an NCache Virtual Machine Scale Set (VMSS) deployment, all configured caches must run uniformly on all cluster nodes. When you add a new node at runtime to scale out your environment, the new node will automatically join all pre-existing caches and begin participating in state transfers without requiring manual intervention.
See Also
Azure Virtual Machine Scale Sets
NCache Deployment
Security Configuration