Register Classes for Portable Data Sharing
There are situations when applications form the same/different platforms are interested to share cached data among them. For this purpose, dynamic data sharing can be used. It shares the data between various versions of an object, either from the same platforms or different platforms at runtime.
Add Data Sharing Configuration
Using NCache Web Manager
Launch NCache Web Manager by browsing to
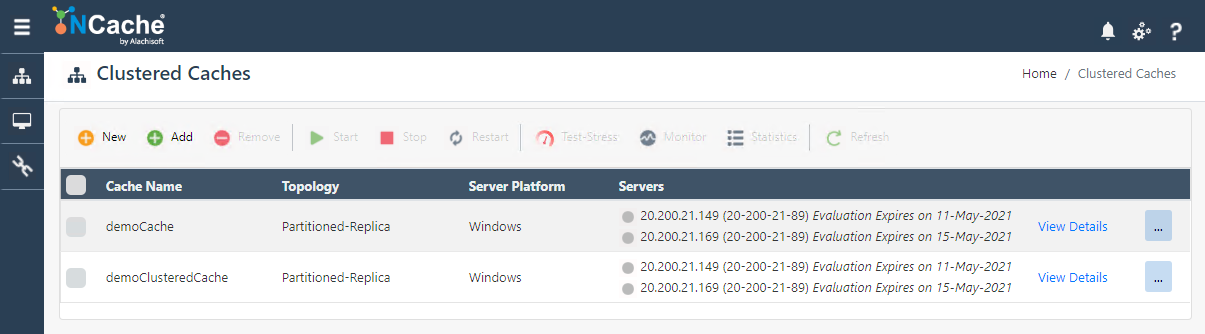
http://localhost:8251(Windows) or<server-ip>:8251(Windows + Linux).In the left navigation bar, click on Clustered Caches or Local Caches, based on the cache to configure.
Against the cache name, click on View Details.
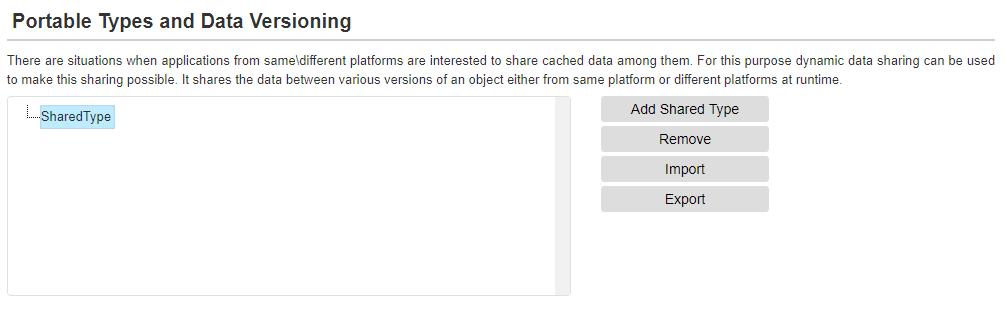
This opens up the detailed configuration page for the cache. Go to the Advanced Settings tab and click on Portable Types in the left bar.
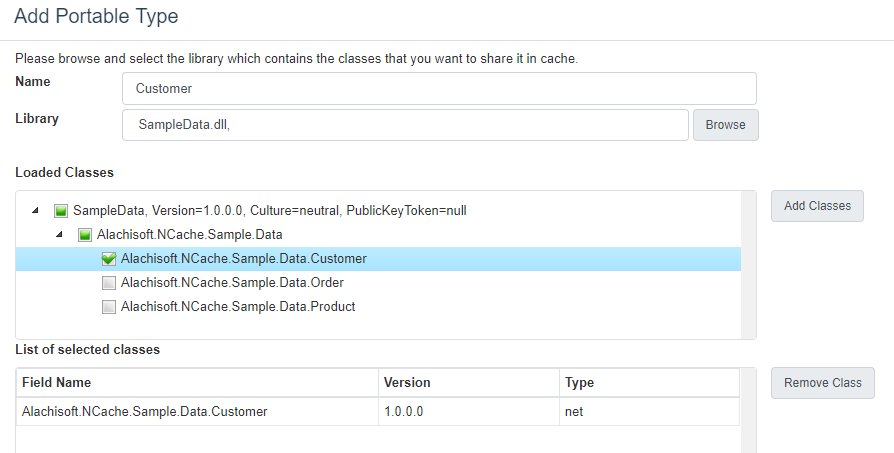
Click on the Add Shared Types button, a new Add Portable Type dialog box will open up.
- Specify the name of the shared data type.
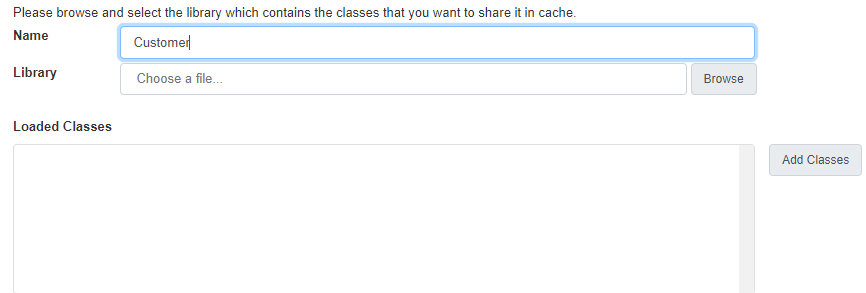
- Click Browse to browse for required assembly (.exe, .dll or .jar file).
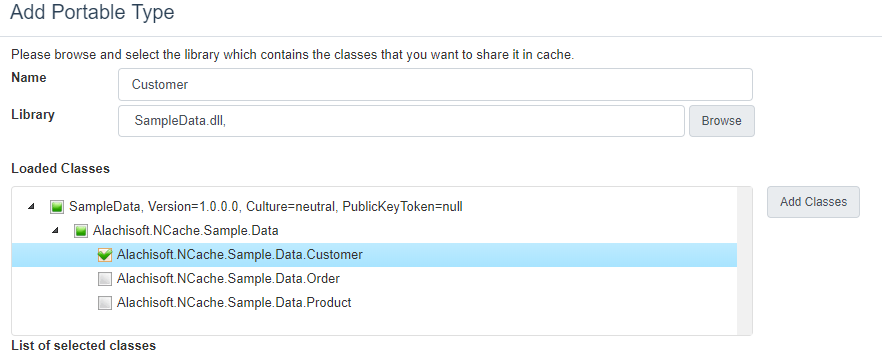
Selected Assembly and all its classes will appear in Loaded Classes section.
Select the required class and add it in List of selected Classes section using Add Classes button.
Repeat the above mentioned steps for the selection of .jar files.
Click OK after adding classes of .NET and Java.
The opened wizard will close and selected classes of both platforms will appear in Shared Types section under your given data type name.
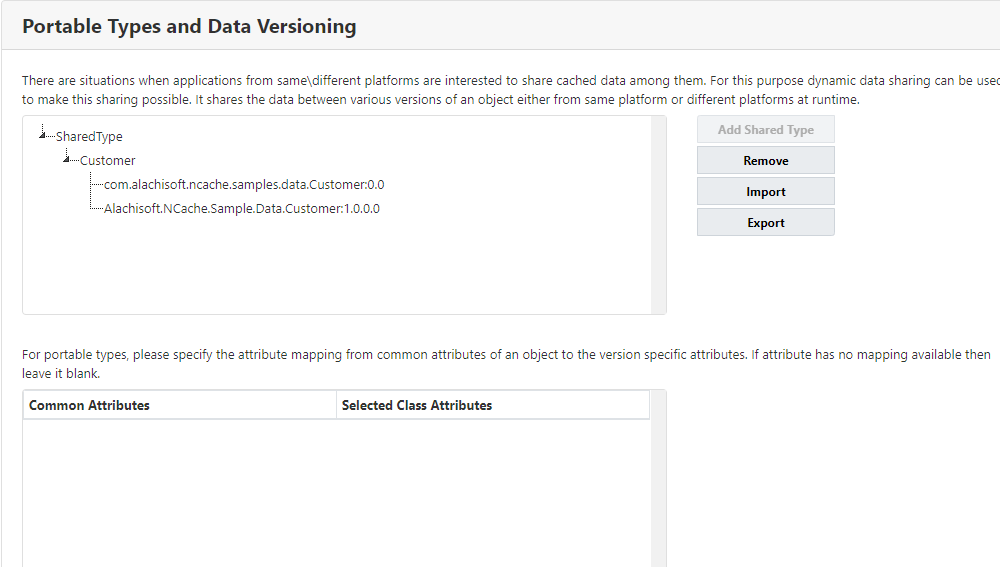
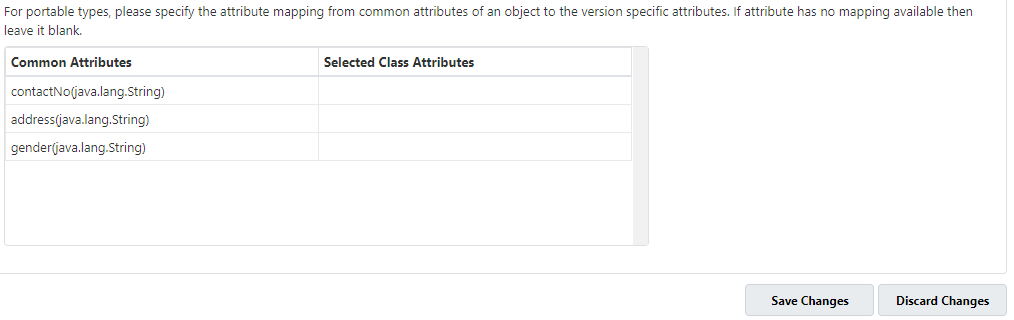
- Now map the attributes of both platforms classes. Click on the added data share type ‘Customer’, all of its attributes will be listed in Common Attributes section.
- Click on a class listed under ‘Customer’ data type. Its attributes will be listed down in Selected Class Attributes section.
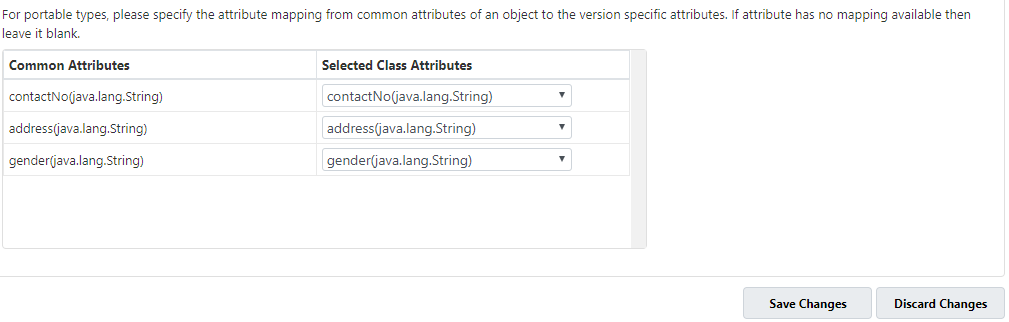
If .NET class is selected, select the required Java attribute of the Java class to map it against .NET attribute. Data types of attributes to be mapped should be same or compatible. The compatible .NET and Java data types mapping tables are given below:

Important
.NET class should be mapped with Java class, not vice versa.
.NET Class (Left side) Java Class (Right side).
Do not map both classes individually, only map one class if there are two classes to be mapped.
- Map all attributes using the drop down list. Once the attributes are mapped, click on Save Changes.
Using PowerShell
Add-PortableType cmdlet enables the user to register different custom classes and different data types for data sharing
The following command configures shared types from the provided xml file.
Add-PortableType demoClusteredCache -ConfigPath C:\\config.xml
This command configures the objects of shared types for a cache named demoClusteredCache existing on the server node ’20.200.20.29’ in the configuration file placed at the path specified.
Add-PortableType -CacheName demoClusteredCache -ConfigPath C:\\config.xml –Server 20.200.20.29
Import/Export Data Sharing Configuration
Export Data Share Configuration
Launch NCache Web Manager by browsing to
http://localhost:8251(Windows) or<server-ip>:8251(Windows + Linux).In the left navigation bar, click on Clustered Caches or Local Caches, based on the cache to configure.
Against the cache name, click on View Details.
- Click on the added shared type.
Click on the Export button and save the data sharing configuration in an xml file.
Provide a file name and click Save.
Import Data Share Configuration
Launch NCache Web Manager by browsing to
http://localhost:8251(Windows) or<server-ip>:8251(Windows + Linux).In the left navigation bar, click on Clustered Caches or Local Caches, based on the cache to configure.
Against the cache name, click on View Details.
- Click on the added shared type.
Click Import to get data sharing configuration from an xml file.
Browse the saved data share configuration file and click Open.
Click on Save Changes.
Note
You should have an exported xml file containing mapping of attributes.
Remove Classes For Portable Data Sharing
Pre-defined shared data types can be removed by the user. Following are the steps to remove pre-defined shared data types.
Launch NCache Web Manager by browsing to
http://localhost:8251(Windows) or<server-ip>:8251(Windows + Linux).In the left navigation bar, click on Clustered Caches or Local Caches, based on the cache to configure.
Against the cache name, click on View Details.
- Click on the added shared type.
- Click on the Remove button to remove the shared type.
Using PowerShell
Remove-PortableType cmdlet enables the user to remove already defined shared
data types.
The following command removes defined shared types for a cache name demoClusteredCache using default port 8250.
Remove-PortableType -CacheName demoClusteredCache
This command removes defined shared types for a cache name demoClusteredCache existing on the server 20.200.20.29.
Remove-PortableType -CacheName demoClusteredCache –server 20.200.20.29
Using Tools (Java)
- Open the NCache tools directory using the following command:
$cd ~/%NCHOME%/bin/tools
- Use the
adddatasharetool to define the shared data types.
./adddatashare demoCache-T ~/Work/SharedTypes.xml
On executing the command, shared data types from the provided file will be configured.
See Also
Cache Startup Loader
Register Classes for Compact Serialization
Cache Startup Loader
MapReduce