Navigating Your Subscrition
The NCache Cloud Portal provides several features that give users insights into their NCache Subscriptions.
Subscription Dashboard
This dashboard provides a comprehensive overview of your subscription details, including your Subscription Period, Subscription ID, and Subscription Status. It also displays the version of NCache you're using along with the associated License or Evaluation key. Additionally, it shows your Company Name, Plan Name, Billing Method, and Billing Term for easy reference.
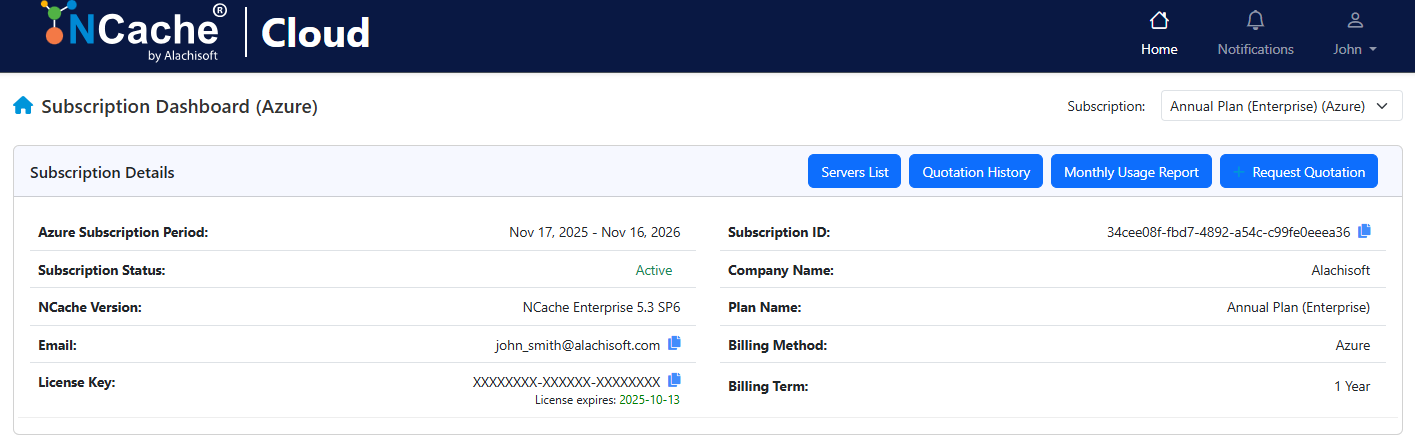
Beyond these details, the dashboard offers guidance for deploying NCache in your environment. For evaluation users, it also provides the option to submit a request to obtain a full license key or extend your evaluation period, ensuring a smooth transition to a full subscription if needed.
Tip
You can learn more about NCache Licenses using the NCache Installation Guide.
Note
If you have multiple subscriptions, you can easily switch between them using the subscription dropdown menu located in the top-right corner of the dashboard.
Server List
This provides users a detailed breakdown of all the environments where NCache is being used under your subscription. Please note that the machines displayed will vary depending on your subscription plan. If you are evaluating a flexible plan, only the activated machines will be shown. However, if you are licensed, only machines activated with the license key will appear. The server list will revert to showing evaluation machines if a machine is deactivated and no license-activated machines are currently available. On the other hand, if you are subscribed to an annual plan, only license-activated machines will be displayed.
Additionally, the Server List provides users with the option to view all machines that were activated or deactivated using the license key by using the "View Activation History" button. However, this button will only appear if a license key is available.

Warning
Multiple entries may appear for the same environment, as the table registers a new entry each time an environment is registered or unregistered from NCache.
The table includes key details such as your Environment, Server, Registration Type, Server Profile, Registration Date Time, IP Addresses, and Hours Used (Until Now). You can also use the Search function to quickly find a specific environment or entry.
Monthly Usage Report
This option allows you to view your transaction history for the selected month, which can be chosen from the dropdown menu in the top right corner of the page. The Monthly Usage Report option provides a record of all the transactions you've made during this time.

It contains the following:
- Reservation History: This will contain all transactions made as part of your Annual Subscription, their dates, IDs, and cost.
Note
Your Reservation History will also contain the details of your 24x7 purchase transactions.
- Usage History: This will contain all transactions made as part of your Flexible Plan, the related environments and costs.