Public IPs
No additional prerequisites are required when using Public IPs. You will be taken directly to the Configure Environment page after choosing Public IPs as your connection type, streamlining the process for a quick setup.
Configuring Public IPs
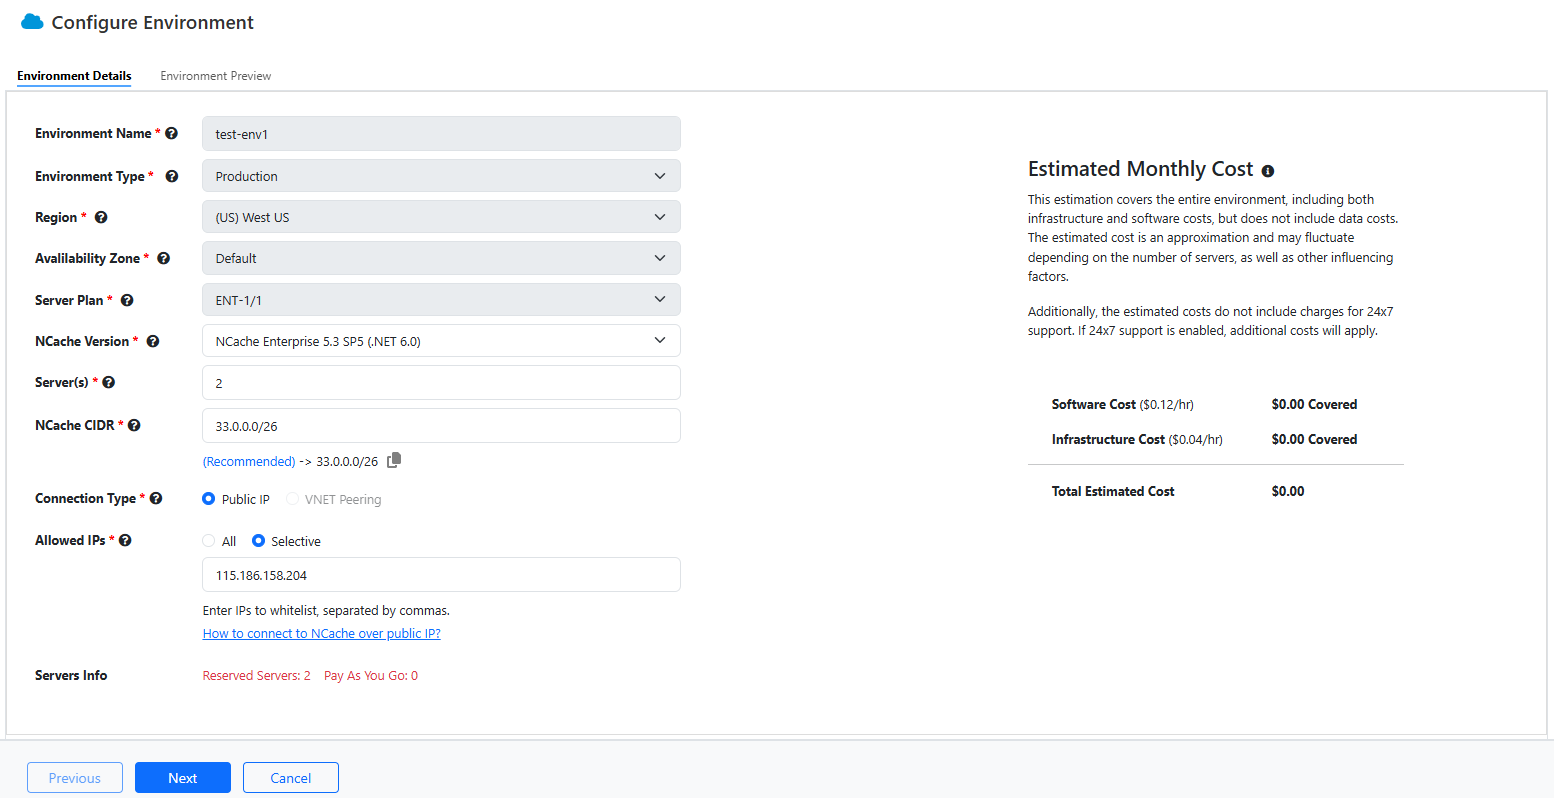
The entire process of configuring Public IPs is the same as of VNET Peering. The difference lies in the Environment Details form where instead of Application CIDRs is replaced with Allowed IPs which can either be All or Selective. These are the IP addresses that you will use to connect with the environment. These Public IPs will be added to the whitelist ensuring only the traffic from these addresses will be allowed. In case these are not added, you will not be able to connect to the cache servers. The details of All and Selective are as follows:
- All: This option opens access to all public IP addresses, essentially allowing unrestricted inbound traffic.
- Selective: This option allows you to specify a controlled list of IP addresses or IP ranges that are permitted to connect. This provides an added layer of security by ensuring that only trusted or known entities can access the service over the public internet.
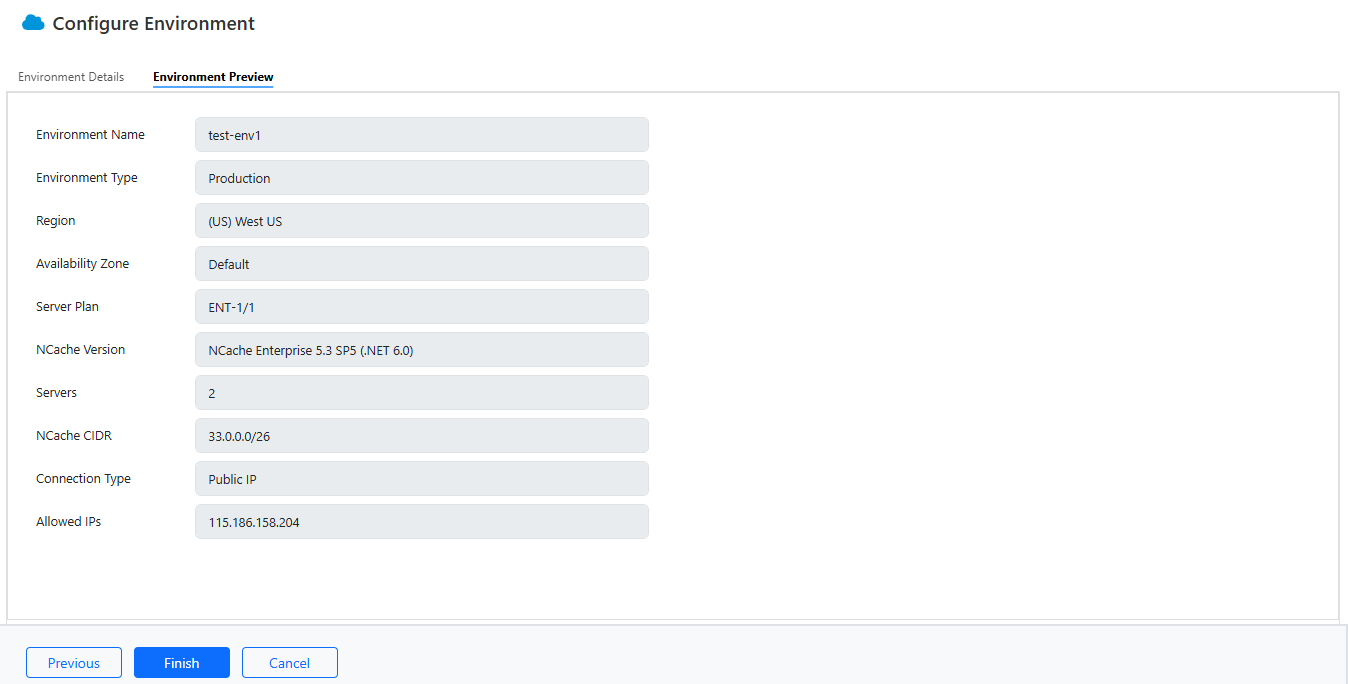
- Click Next, where you can preview your environment details.
- You will also receive a confirmation popup against your environment configuration, followed by an Environment Deployment in Progress popup. After which your environment details will look as follows on the dashboard:
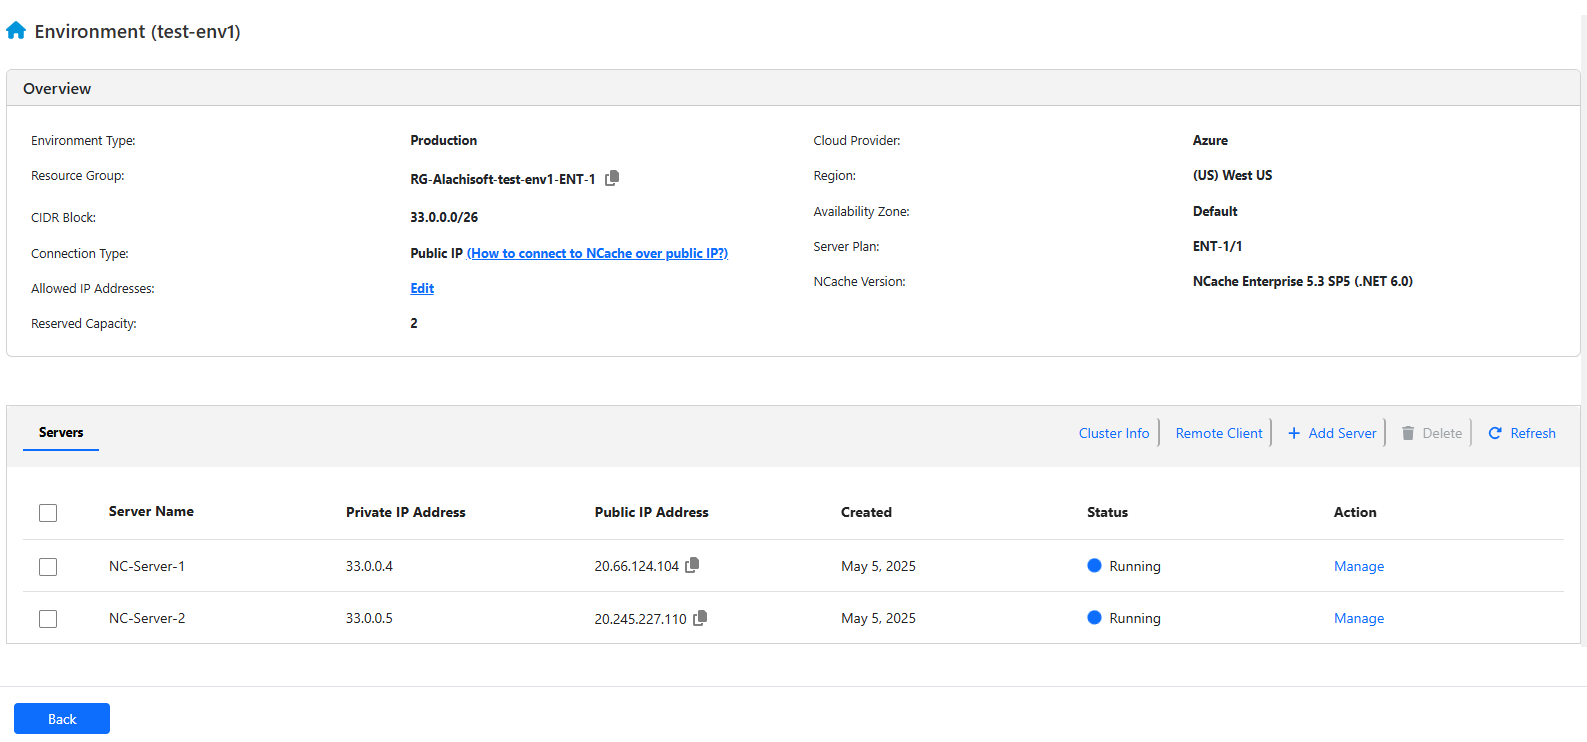
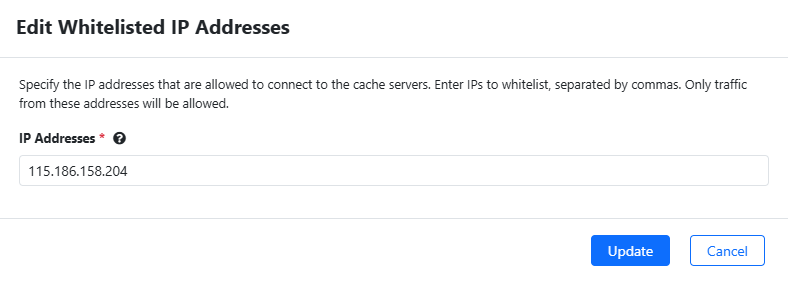
- You can also whitelist your IP addresses, by clicking on Edit next to the Allowed IP Addresses in the Overview section. The following prompt appears:
- Once your deployment is completed, you can add and delete servers, as necessary, as explained on the Environment Management page.