Remove Client Node
An already registered client node can be simply removed from the cache using the NCache Management Center and PowerShell, as detailed below.
Using the NCache Management Center
Launch the NCache Management Center by browsing to http://localhost:8251 or
<server-ip>:8251.In the left navigation bar, click on Clustered Caches or Local Caches, based on the cache from which the client node will be removed. Against the cache name, click on View Details.
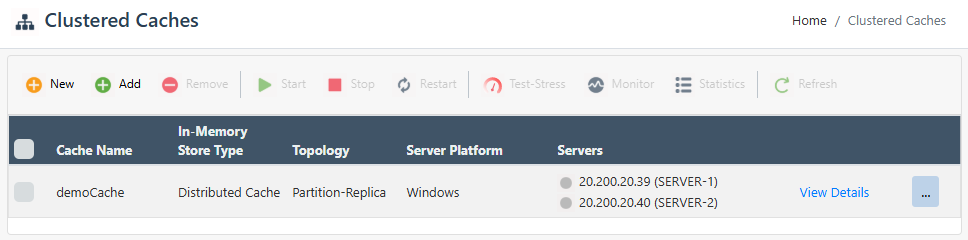
This opens up the detailed configuration page for the cache. The Client Node tab displays a list and status of any existing client nodes of the cache.
Select the client node to remove and click on the
 button, which will prompt a success notification.

Note
Upon committing these changes, you might get prompted with a dialog box, asking whether to reload or overwrite the cache config file.
Using PowerShell
The Remove Client Node cmdlet enables users to remove singular or multiple client nodes from the existing clustered cache(s) or on a specified server.
- The following command removes client node 20.200.20.11 from a cache named demoCache which exists on the server node 20.200.20.12.
Remove-ClientNode -CacheName demoCache -ClientNode 20.200.20.11 -Server 20.200.20.12
- The following command uses port and removes the 20.200.20.11 client node from the demoCache which exists on server node 20.200.20.12.
Remove-ClientNode -CacheName demoCache -ClientNode 20.200.20.11 -Server 20.200.20.12 -Port 8250
- The following command removes client node 20.200.20.11 from a cache named demoCache which exists on the server node 20.200.20.12 using security credentials.
Remove-ClientNode -CacheName demoCache -ClientNode 20.200.20.11 `
                  -Server 20.200.20.12 -Credentials(Get-Credential john_smith)
See Also
Add Client Node
Configure Client Cache
Configure Caches
Management Operations
