Windows Installation
This page details the prerequisites and steps involved in installing NCache through the installation wizard.
Install NCache
NCache .NET Cache installation occurs via an interactive setup wizard by following these steps:
Search for Command Prompt in the Windows Start menu. Right-click on the search result Command Prompt and select Run as Administrator, as NCache must be installed with permission from an admin user.
To install NCache you need to download .msi file from NCache Download Center and run it from Command Prompt using the command below.
msiexec.exe /I "C:\NCacheSetupPath\ncache.ent.net.x64.msi"
For NCache Open Source:
msiexec.exe /I "C:\NCacheSetupPath\ncache.oss.x64.msi"
- The following Welcome to the NCache Setup Wizard screen appears:
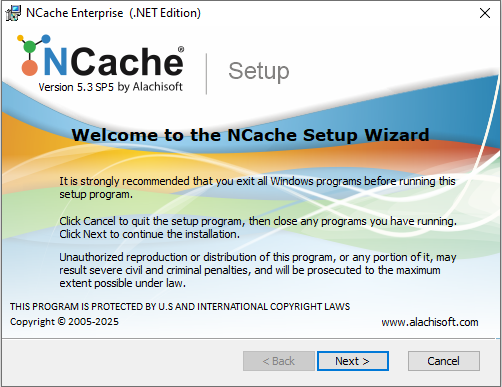
Click Next.
The next screen asks you to accept the license agreement.
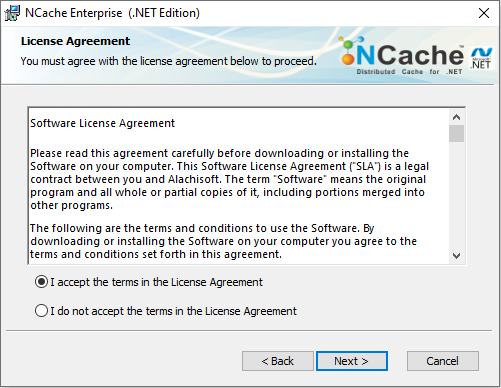
By clicking I accept the terms in the License Agreement, you are making a legal commitment to abide by the Alachisoft Software Agreement for NCache. You cannot proceed without accepting the license agreement.
Click Next.
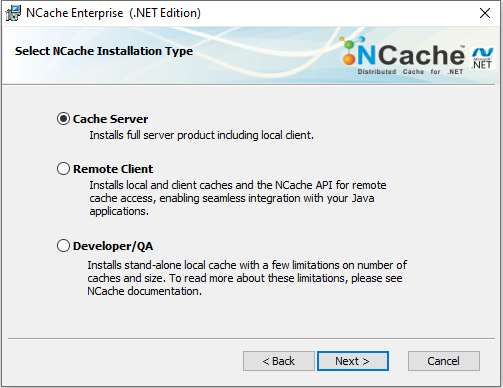
The Select NCache Installation Type screen appears. Select the required installation option and click Next.
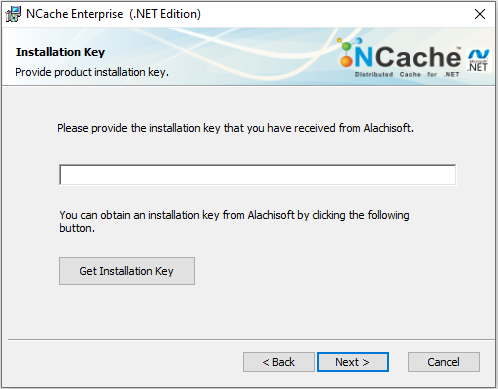
- The Installation Key screen appears, asking for the installation key. Provide the key you have received from Alachisoft and click Next.
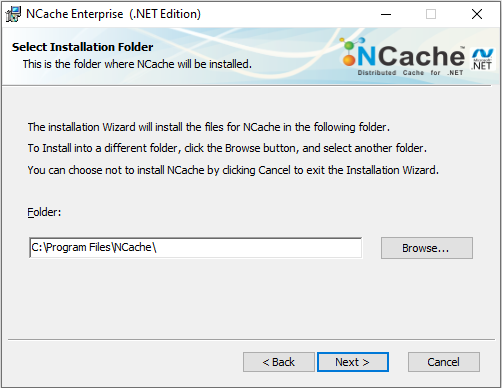
- The Select Installation Folder screen seeks confirmation about where to install NCache. Keep the default location or change it, if required. Click Next.
The Configure IP Binding and Firewall Ports screen ensures the following prerequisites:
- NIC binding in case of multiple server IP addresses.
- Configure NCache-specific ports in case of a firewall.
From the dropdown menu, select the IP address you want to bind NCache services with.
By default, the firewall is configured for all ports used by NCache. Disable the checkbox if you do not want to configure NCache ports with the firewall.
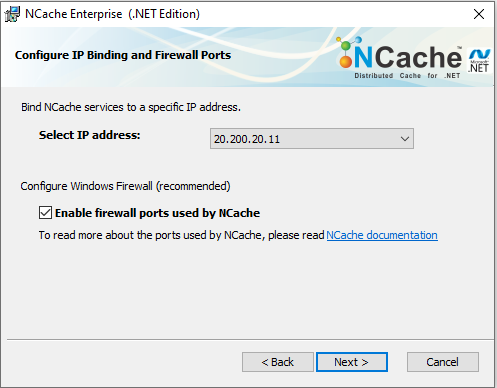
Click Next.
The Set Account to Run NCache Services screen appears. Select the account under which the NCache service will run. You can use the Local System account or provide a specific account by entering the Username and Password. Click Next.
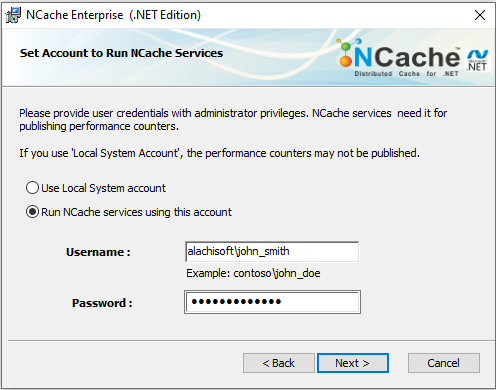
Important
If you provide an account other than the Local System account, you have to allow this user to log in to the NCache Service. See troubleshooting for more details.
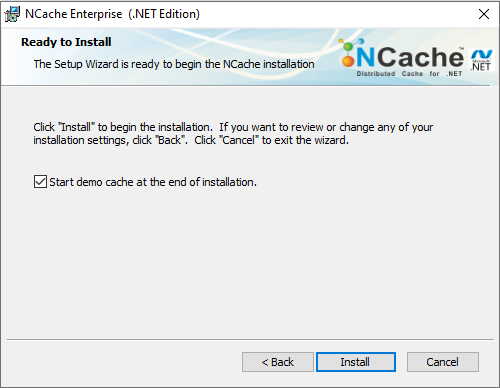
- By default, the NCache Service will create and start a demo cache named demoCache of topology Partition-Replica at the end of setup installation. You can disable this option from this screen by unchecking the "Start demo cache at the end of installation." option. Click on Install when done.
- After the installation is successful, the following screen is displayed. On this screen, there is an option to Launch Management Center which automatically launches the NCache Management Center on your localhost after successful setup installation. You also have the option to choose Launch Getting Started Guide. After you have made your choice, click Finish.

- If you have used an expired installation key, you will get this screen instead of the exit installation screen:
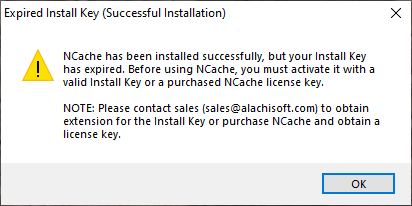
If you have a license key or extension key, you don't need to worry about this message. Use the Register-NCache PowerShell cmdlet to activate your license or extend your evaluation period. Otherwise, contact Alachisoft Sales team at sales@alachisoft.com to purchase an NCache license or extend your evaluation.
You can refer to the Getting Started Section to set up the NCache environment.
Installation Options
When setting up NCache in your environment, it's important to select the right installation type based on your particular requirements. NCache offers four different installation options, the following sections details these.
Cache Server
This option installs both, the server and client portions of the NCache software. We recommend you install it on 2 or more servers for reliability - these can be dedicated servers or your web/app servers with a dedicated caching tier for 3 or more web/app server environments. Usually, we recommend a 4:1 or 5:1 ratio between web/app servers and cache servers. If you’re installing an NCache server on web/app servers, ensure you have sufficient memory and CPU power available for application and NCache.
Developer/QA
This option installs the NCache API, online help/documentation, and a local stand-alone cache. Note the following limitations for the Developer/QA Installation, while connecting to remote caches:
- Only 2 remote clients can connect to the local cache on the Developer/QA machine. However, you can connect with as many local clients as you want.
- Only 3 caches can run on the Developer/QA machine with a maximum combined size of 2GB.
- The total number of requests/second per local cache is 25.
- To add a client, the user must add the relevant configuration manually in the client.ncconf. The Developer/QA installation provides no support for command line or web-based tools.
- There is a limited number of requests (200,000) a client can send to the remote cache. For instance, in the lifetime of a client application, if it is licensed with a Developer/QA license, the client will stop making requests to the remote cache after it has sent 200,000 previous requests to the same destination. The only workaround is to restart the application for another 200,000 requests. Once the client has made 200,000 requests, a licensing exception will occur saying “Clients running under a Developer/QA license cannot send more than 200,000 requests to the remote cache.”
Remote Client (Optional)
This option installs NCache on all web/app servers from where you want remote access to the cache servers. You are only required to install the Remote client if you want to have the following benefits:
- Install OutProc Client Cache.
- Client Monitoring from within NCache Monitoring.
- Client Management through Management Center.
- Client/Server Licensing.
Uninstall NCache
To uninstall NCache through the Graphical User Interface (GUI), follow the steps mentioned below:
- Press Windows + I.
- Click on Apps.
- Under Apps & Features, use the search bar to find NCache or related names.
- Click on NCache from the list and then click the Uninstall button.
- Confirm any prompts and follow the uninstallation steps.
Note
If you encounter any issues during installation, please refer to the troubleshooting section.
See Also
Evaluation Period Management
License Management
Network Installation with PowerShell